Corafoam is a licensed name for a high quality HDU that is incredibly consistent.. For us that mill, this means there are no grains to consider, there is absolute density throughout, and it carves like nothing you’ve ever carved before…. In a GREAT way.
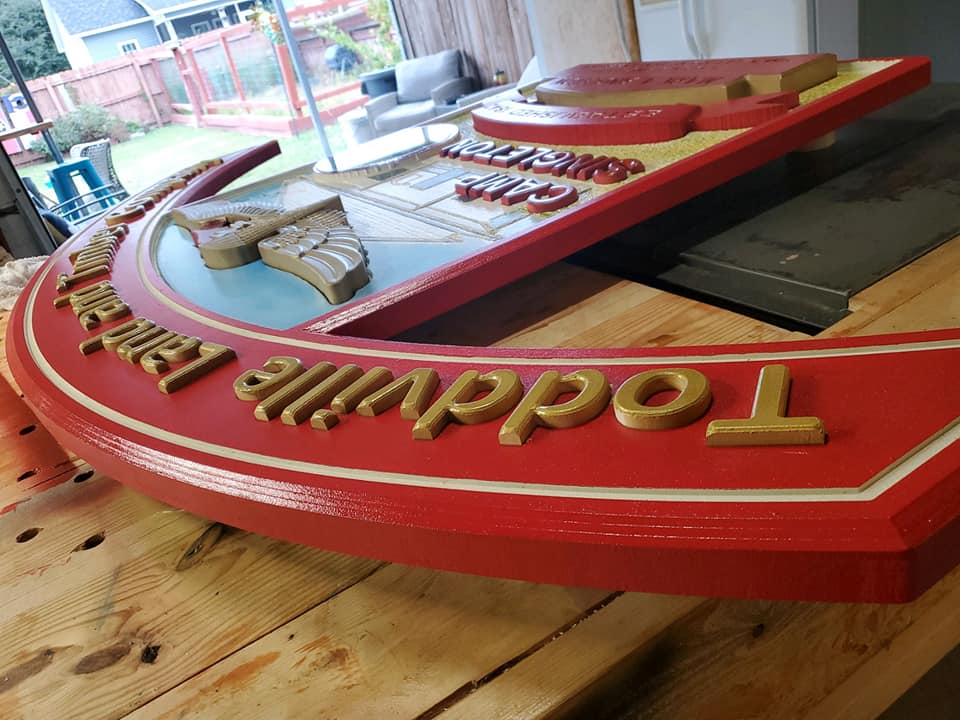
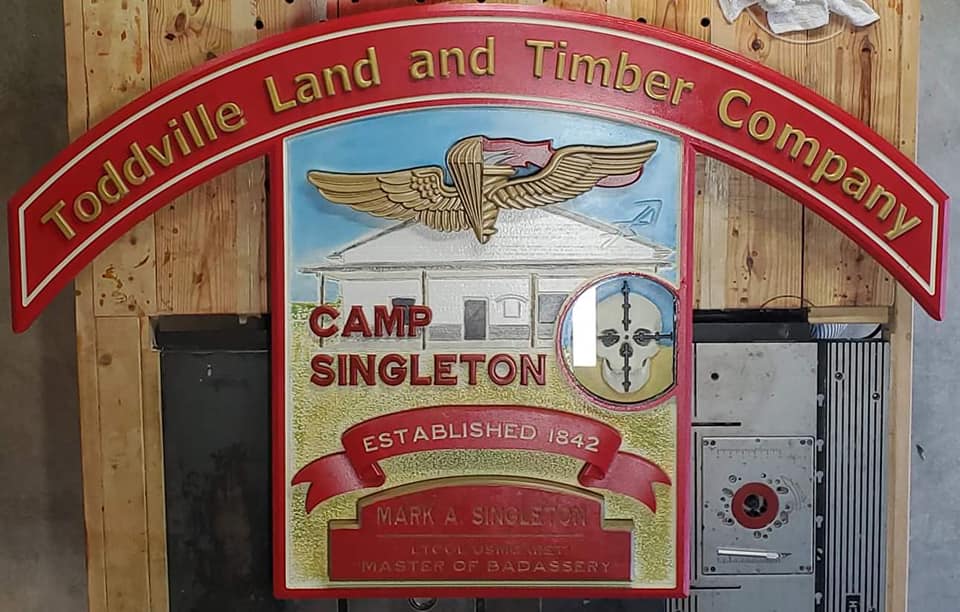
I set out to make this sign for a gentleman and his operation, and selected #15 Corafoam as the substrate. It will be outside in extreme South Carolina heat and humidity, as well as crisp winter days. It’s perfect. I chose one and one half inch thickness as I had some pretty wild plans for this thing. This post is about cutting it and the sign recently made will be used as the illustration solely.
My machine is a semi-industrial machine with ridiculous rigidity and a proper high horse power spindle- a Phantom CNC Systems S-Series 4×8 DSP. It is equipped with a vacuum hold down system capable of 24+ inches of draw over the entire bed when the bed is covered. The trick is ‘the bed is covered’ to achieve that. It’s kinda nice the material was purchased in the same size of the bed.
Cutting:
Roughing: I used a Whiteside 1/2″ ball bit for roughing. It moved at a full 1/2″ depth into the corafoam and at 220IPM while the spindle twirled at 14500RPM with a 20% stepover.
Pockets: The Amana 3/8″ compression was employed. It ran flawlessly at 12k RPM and a full 3/8″ depth, also at 220IPM, and with a 80% stepover.
Fine carving models: I used an Amana 1/8th ball bit at 180IPM and 12k RPM, at a depth of .0625 per pass maximum.
V-Carving: I used an Amana 60* 1/4″ bit with a bottom-flat at .125 and moving at 180IPM and at 12k RPM.
Chamfering: Amana 120* bit down to .5″, running at 12k RPM and 180IPM.
Profiles: I wanted to be close, so I used a 1/4″ foam cutting bit by Amana, at full depth to diameter ratio, and chugged along at 180IPM and 12k RPM.
Your mileage may vary, but these are fairly conservative speeds and feeds for this material believe it or not.
The dust collector did a fantastic job of picking up the chips- which uniformly cut and are in the .03~.05 range. The mess was sent to the bagger, where it belongs, with little effort. This material cuts almost silently- the sound of the spindle and table vacuum drowning out almost all of it- UNTIL- until you get to that profile cut. Fellas, on the lowest passes on the profile it was LOUD- as in as loud as anything I’ve ever cut. And the funny thing was it wasn’t the ebbing and flowing scream of cutting wood- we’re talking a siren that doesn’t change pitch noise.
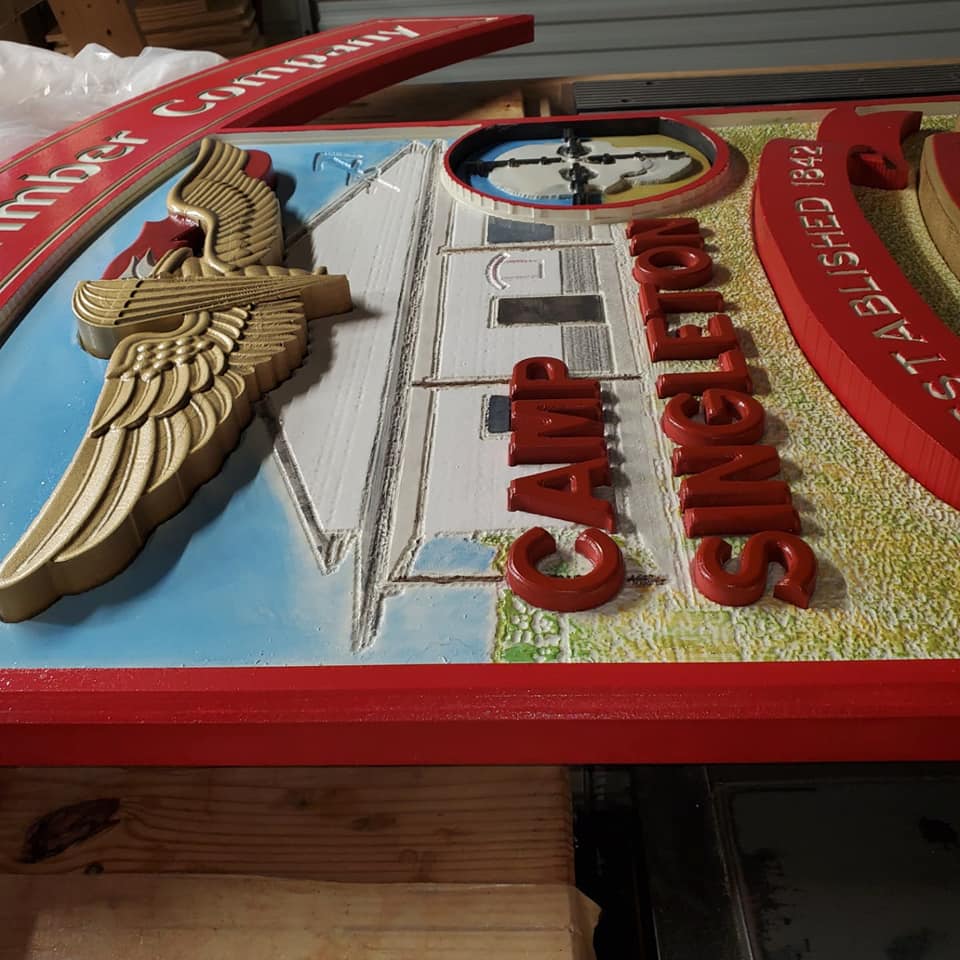
What I’ve learned about the substrate if you’ve not picked up on it yet, is you can aggressively cut it. Very aggressively. You can sink to the tools maximum depth and only worry about feeds- slow them some if you dive to the max. You can take everything within and up to .0325 off the finished model without concern about chip-out or tearing. The only thing you gotta concern about is your handling of the carvings after the job is over. If you’ve cut really fine and tallish lines, you can break them fairly easily. In the illustrated carving, there was little of that to concern with.
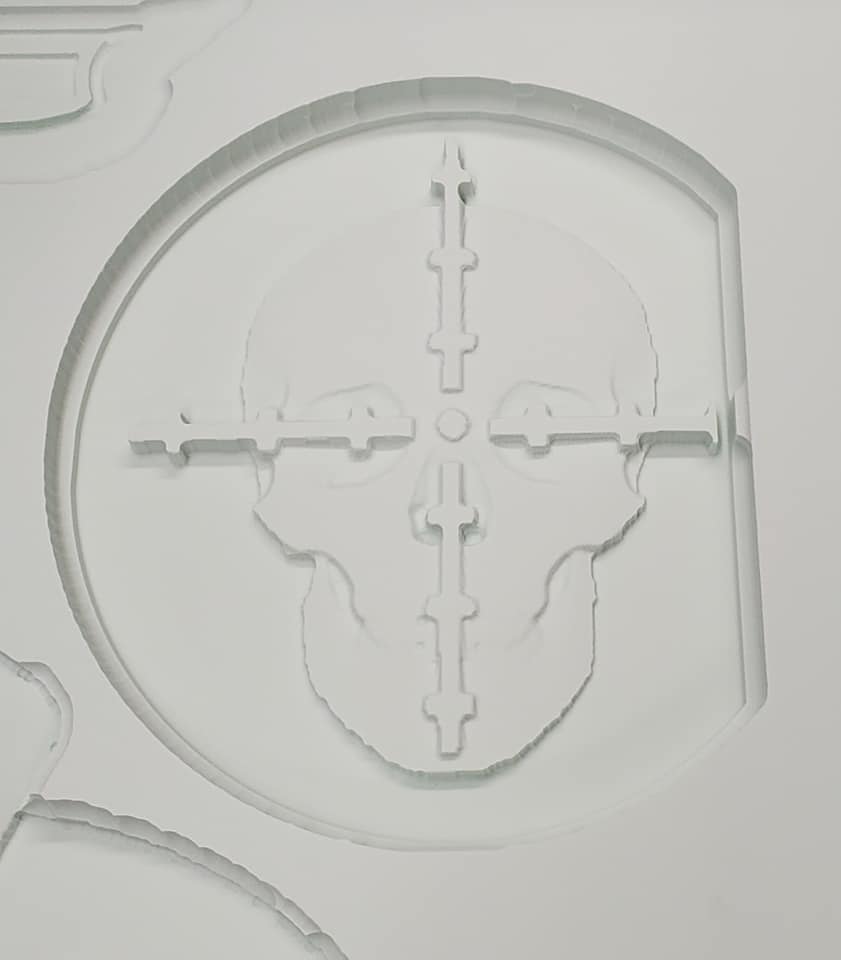
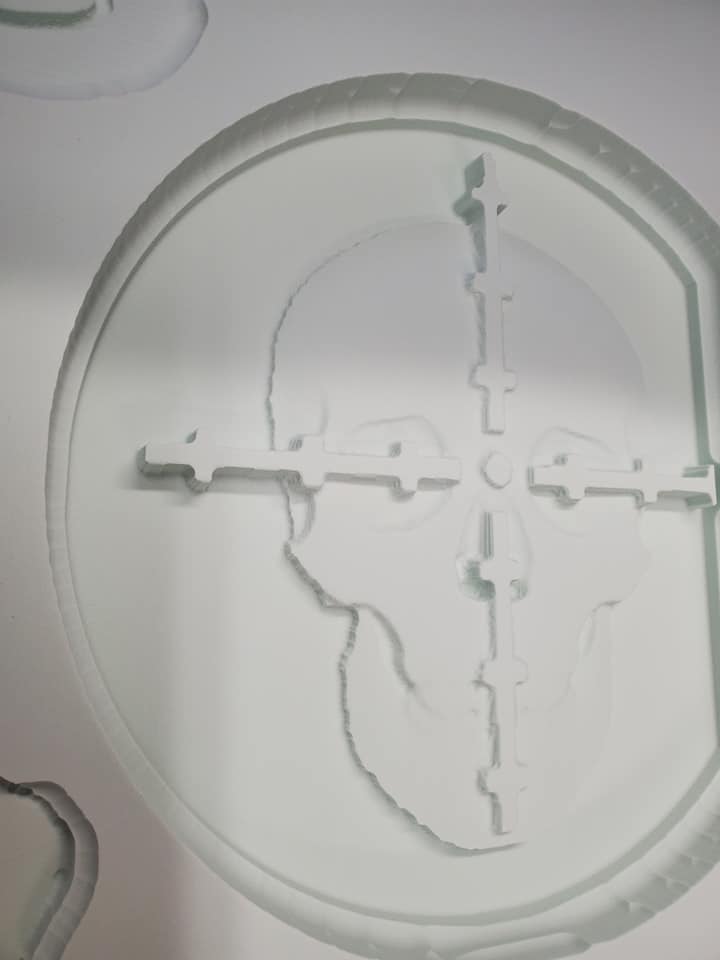
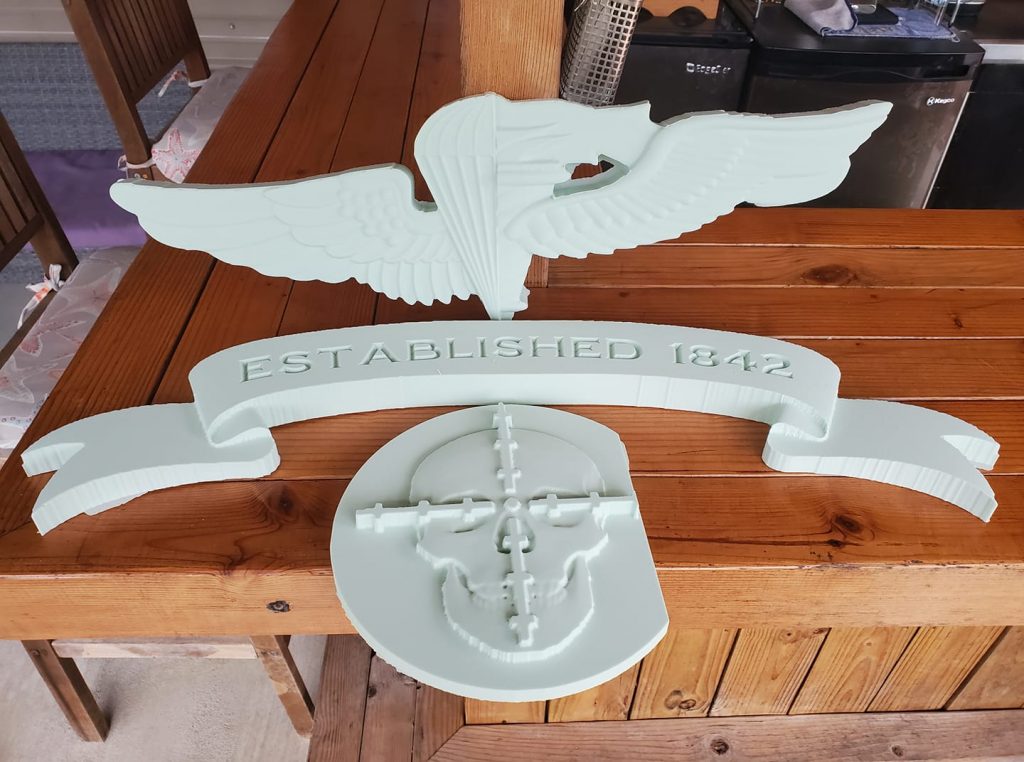
I didn’t have to do this, but I made the models insets as opposed to carving them as one piece. This was done to maximize depths and relief. The pockets were carved into the main panel at 1/8″ depth except for the crosshair, which was set pretty deep at 1.25″. It was covered with an acrylic piece to simulate the lens on a scope, so I needed that extra depth.
The insets were adhered to the main panel via loctite cement.
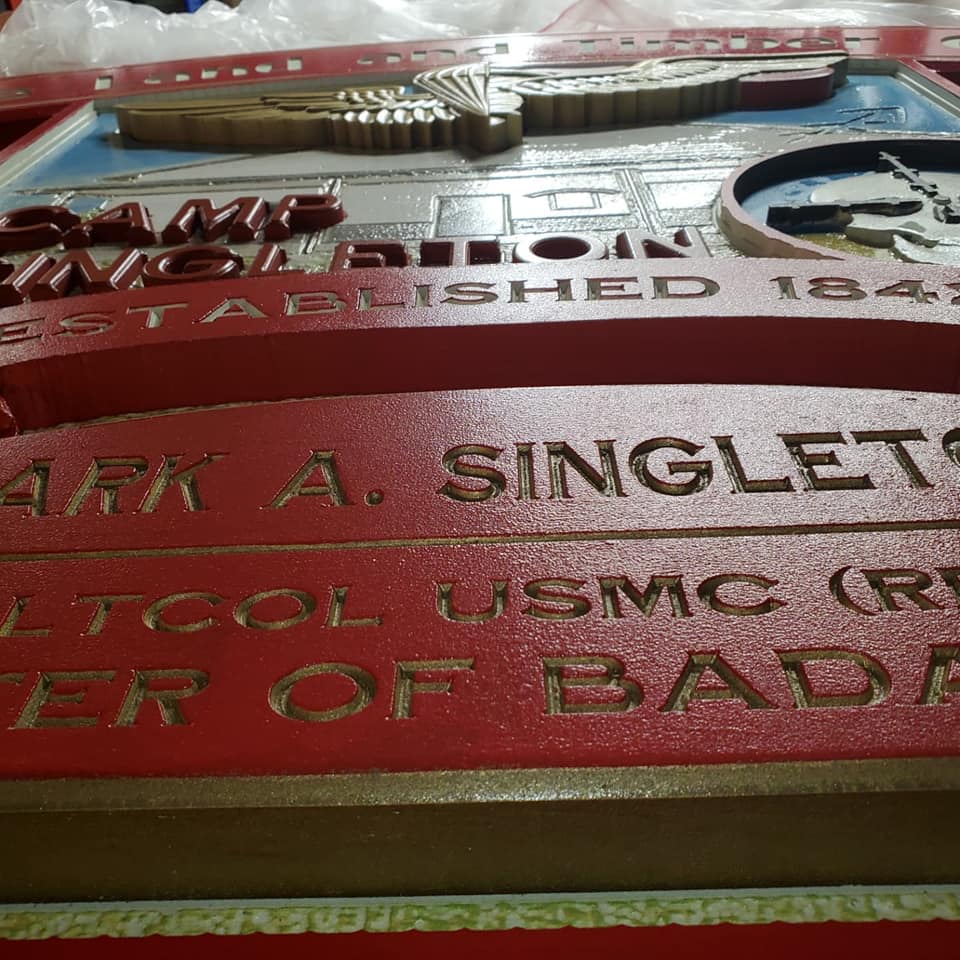
Lettering that wasn’t v-carved was made from expanded pvc which was 1/2″ thick (.55 to be precise) and 3D’d to add some character- they also sat in pockets 1/8″ deep.
Corafoam takes paint easily, so long as you properly prime it. I used basically a generic primer to solve this. The fine paint is acrylic hobby paint and applied with tiny brushes, while the main colors were sprayed in a booth from a gravity fed gun.
It was sealed with 2k Clear Coat and given three shots waiting for each to flash and after the bases and the acrylic were cured.