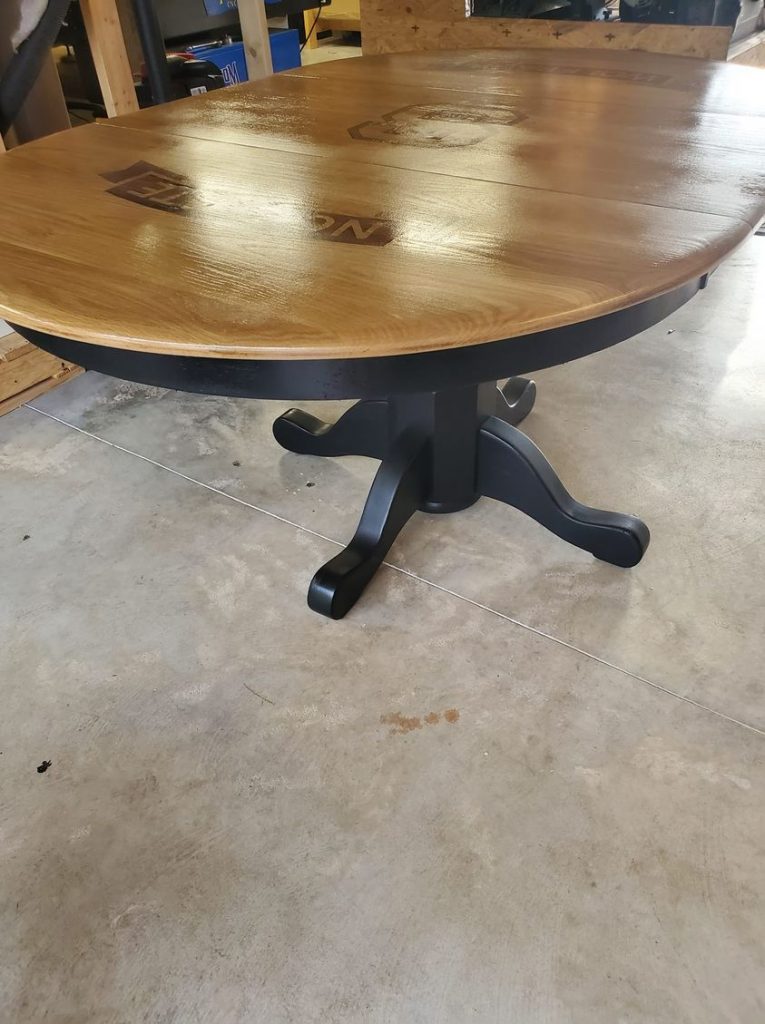
I don’t know how old this table is, but I can tell you it went into service for a family more than 60 years ago. I won’t bother with making it sound like it’s some sort of spectacular specimen of craftsmanship because it’s not really- it’s just a table and of the sort that was readily available for folks on a budget a couple generations ago. I WILL tell you the wood is identifiable as white oak, but it is a bit different than white oak available nowadays- the grain is more dense and the sap lines are tighter together. Not so much that anyone but a nerd like me would notice, though.

The gentleman who brought this to me recognizes it’s value as it was the first table his mom and dad bought when they furnished their first home, and before he joined the party. There is no telling the number of meals shared on it, the stacks of mail and bills that were parsed and fretted over, or the volume of conversations both light hearted and serious that floated above it. This gentleman could buy a table to replace this one and cast this one aside- but that isn’t how he ‘rolls’. He treasures it and wants to repurpose it as a card table to be the centerpiece of his game room. I can dig that in a big way, yet, the sentimental value attached to this thing and realizing it’s value to this fella gave me pause before cutting into it. In the end, I cut into it. I’m glad I did.

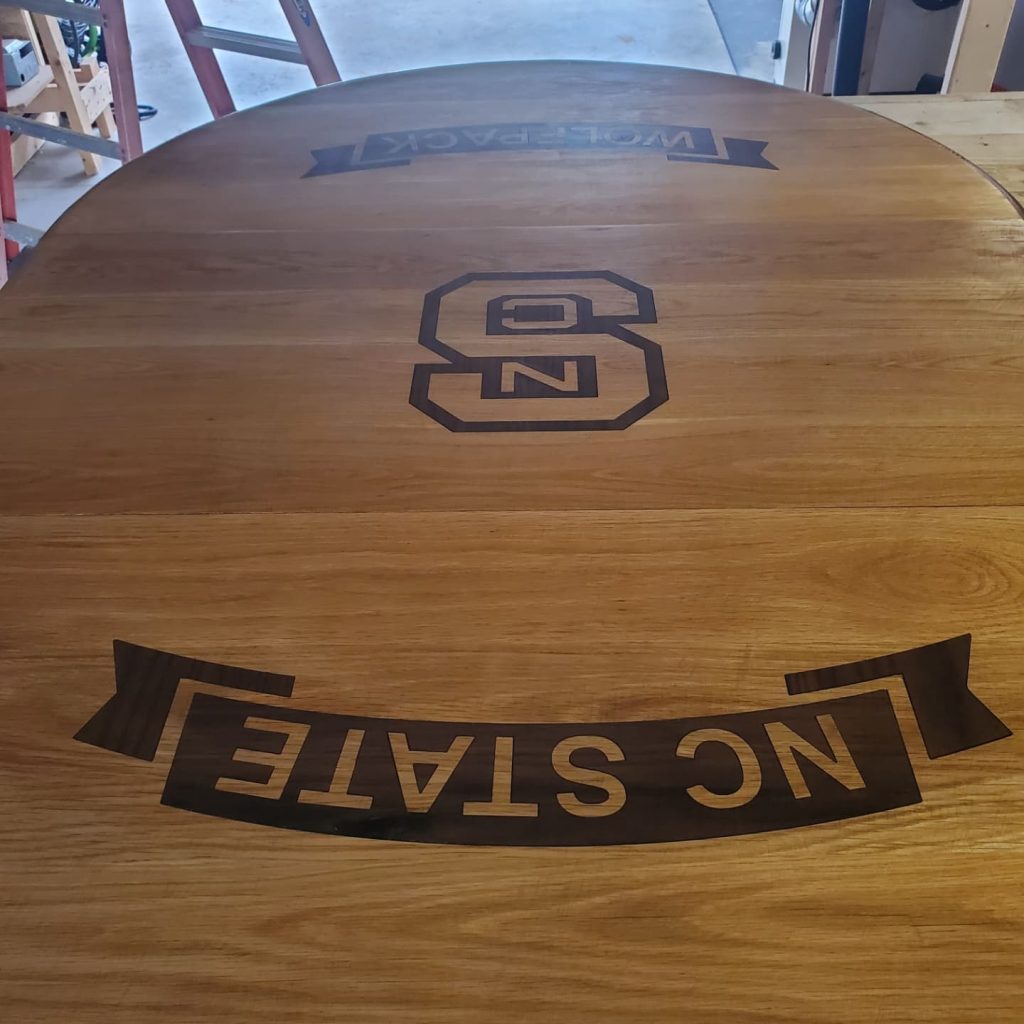
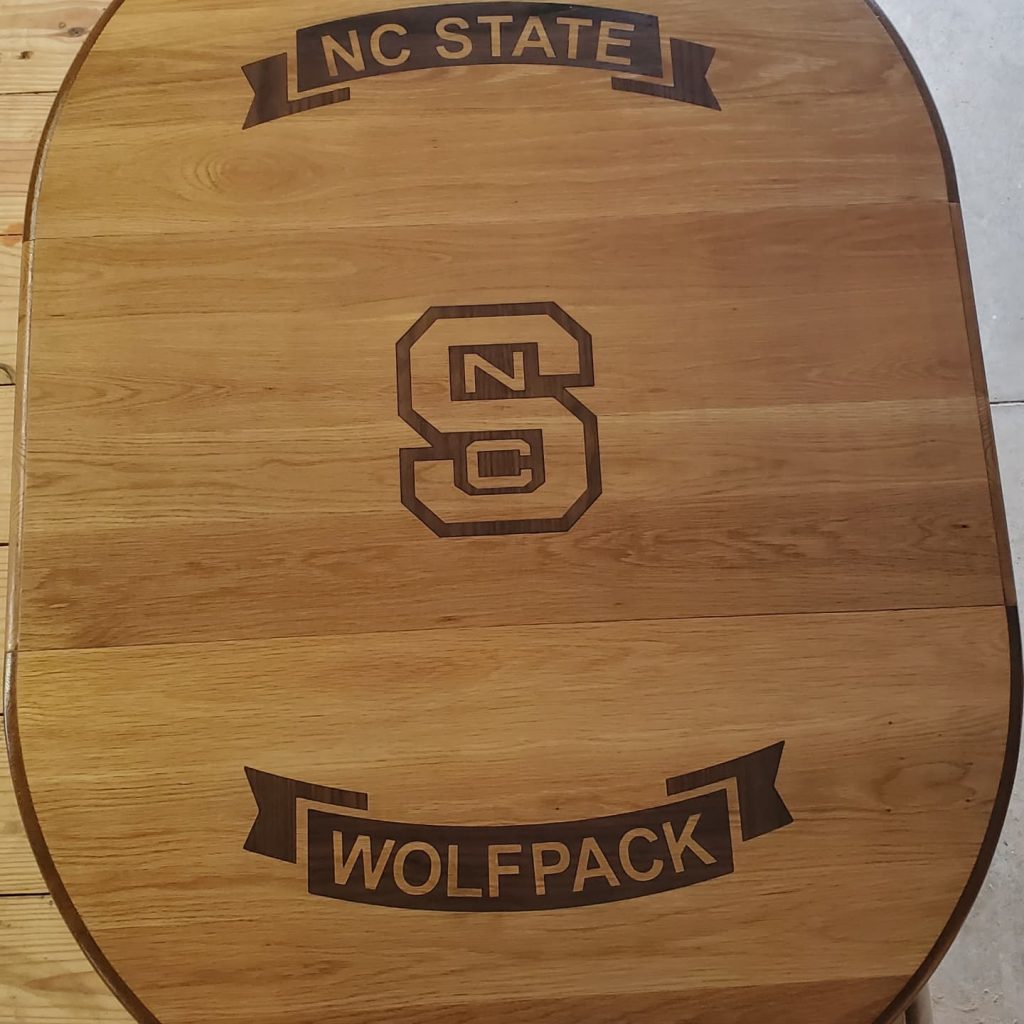
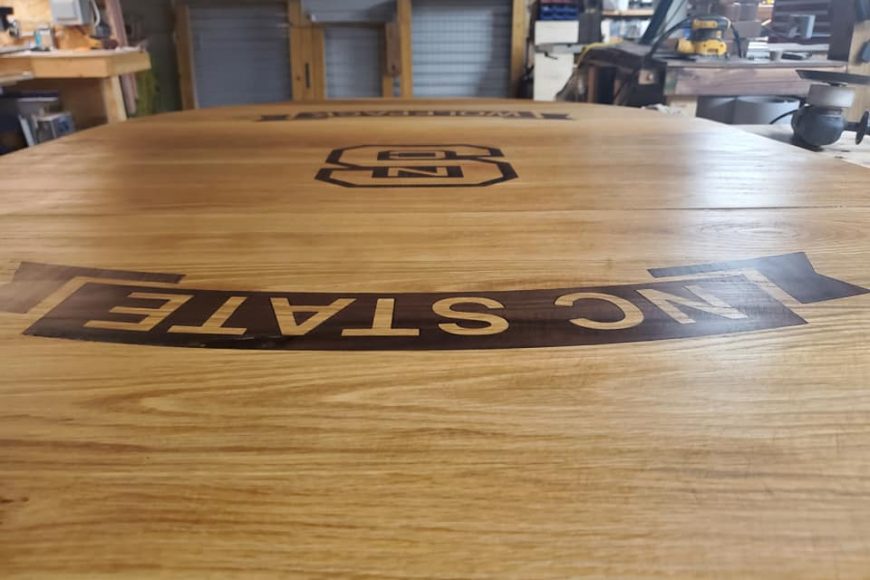
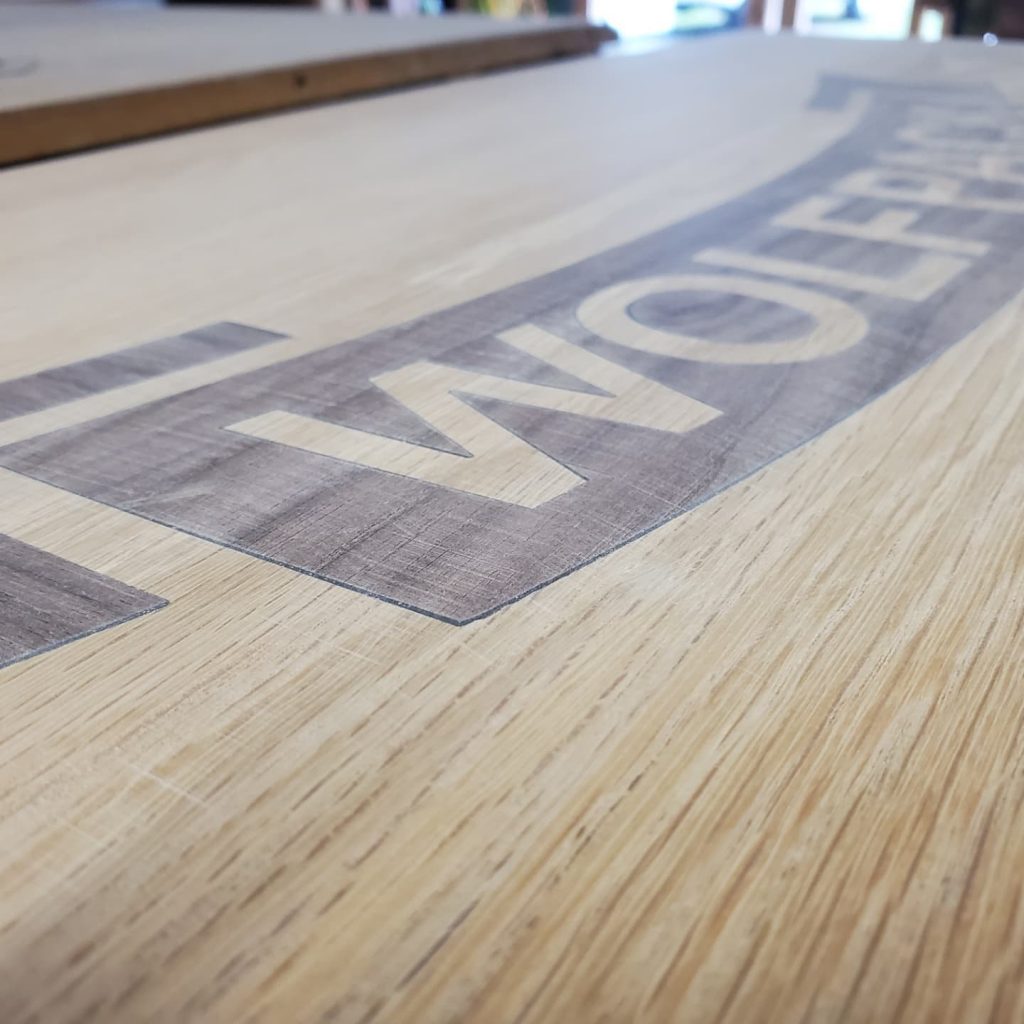
He’s a NCST Fan and Alum. It only makes sense that is what got shoved between the grains of that old oak. The inlay and pocket was created on Aspire by Vectrics software, and the PhantomSystemsCNC S-Series DSP carved out the pockets. They are set 1/4″ deep, and when using a 1/8th” down cut spiral two flute bit, it made pretty quick work of it. Of course it was duplicated with a 32nd” ball nose up cut spiral to make sure the corners of the pocket was tight.
While the table was being prepared by the big boy CNC, some good old fashioned wood working basics came to play. I pulled down a piece of pretty consistently colored heart wood American Black Walnut, and re-sawed it to a thickness just over .3125 using the 14″ Shop Fox bandsaw and a 3tpi 3/4″ wide blade. It went without incident as that is a sturdy tool with consistent cuts.
Now that two pieces of 39″ by just over 6 inch roughsawn boards were made, it was time to pass them through the DeWalt 735X thickness planer. Boom… two boards of equal length, bookmark cut, and precisely the same thickness at .295″.
Then comes the glue up- adjoining the boards making a single consistently grained board of just shy of 11″ and 39″ long… Guys, I’m terrible at glued edging boards less than 1/2″ thick.. it’s tricky.. I didn’t want to lose anymore thickness from planing because the edges weren’t aligned, and it’s not like you can slap a biscuit between something that thin.
In the end, though, they adjoined perfectly and only needed a single pass from a sharp chisel to remove the excess glue. Sweet. The rest should be easy!
My original intent, like many inlay jobs done, was to make a negative of the inlay also with the CNC Mill, which basically carves the material away from the intended inlay, making ‘cards’ of wood which is best described by having the inlay portion still attached to the overall board but by material less than a 16th” thick (or right at). This allows the inlay to be set into the pocket, and carefully tapped in leaving the ‘card’ above- which is then either milled off or sanded off. It’s a pretty efficient way of making inlays- except for the machining time it takes to carve all that excess material away.
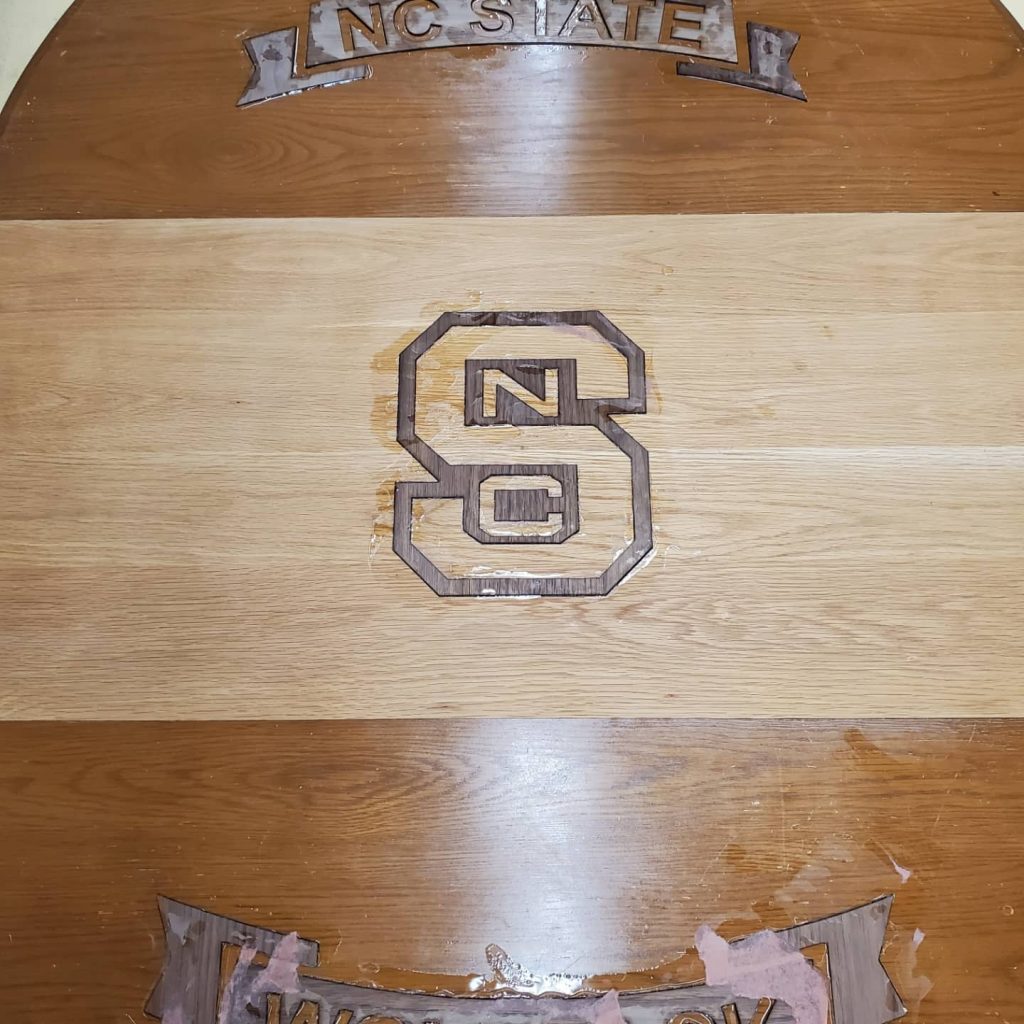
I get that -> isn’t too pretty… But the magic hasn’t started yet.
The thing is I changed my mind about the negative ‘card’ method of making an inlay. Instead, this time, I determined to export the file from Aspire as a PDF and imported it to Lightburn- yup… I lasered it. These two applications compliment each other well even though I’m sure the author of at least one of them doesn’t want me saying as much.
As a PDF LIghtburn has the precise dimensions for the inlay, and the perfect shapes. Too perfect, actually, as the inlays won’t fit. This requires a bit of offset but is something Lightburn makes easy. I set them to be cut half a mil inside the lines. Boom.
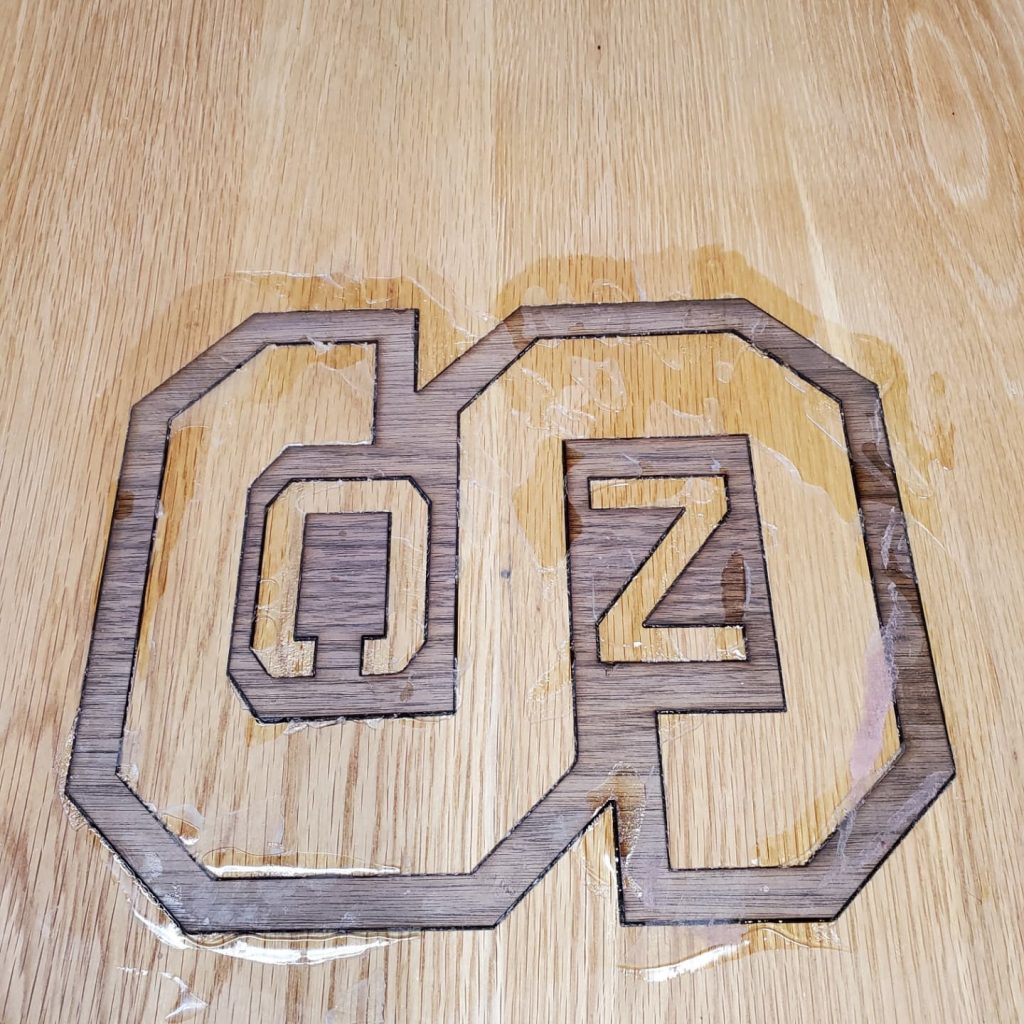
So here is the next trick- the adhesive- and it may be sharing too much to tell about this- but hey, that’s what we’re about here- sharing.
I prefer resin- as in two part epoxy. Basically, I mix it up and flood the pockets with it, making sure the epoxy comes right up the walls of the pocket leaving no areas uncovered. Now lets go back and talk about the half a mm offset for the inlays and why it’s important- and that is because of two things… one matters, and one doesn’t, and you can’t have one without the other.
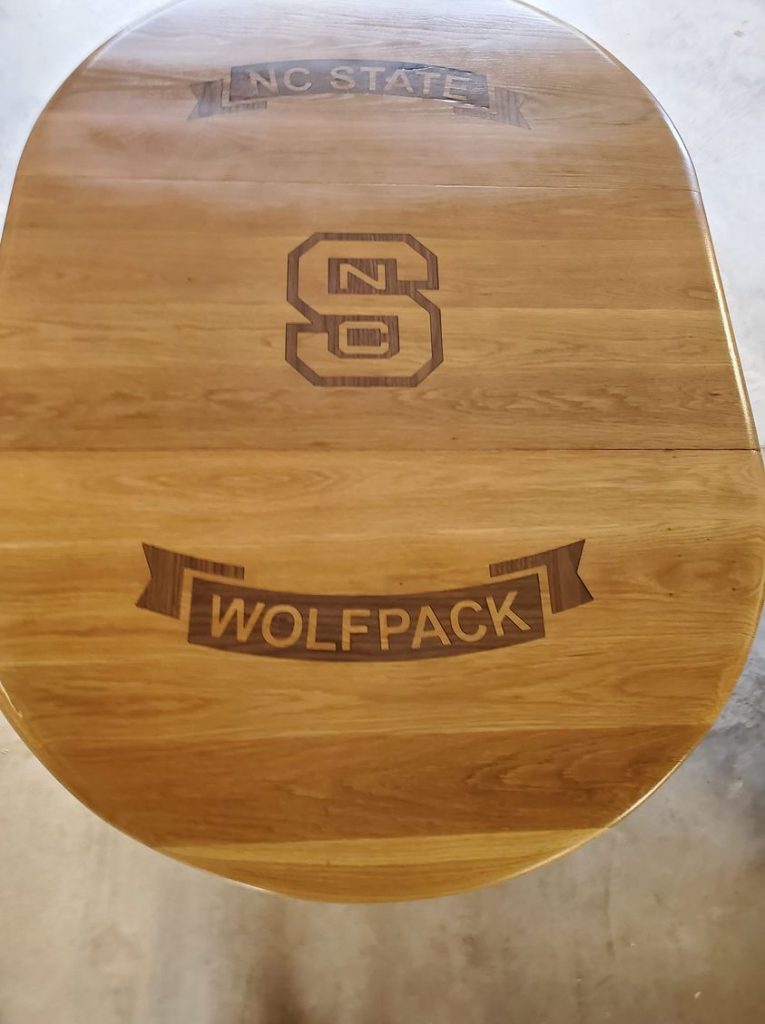
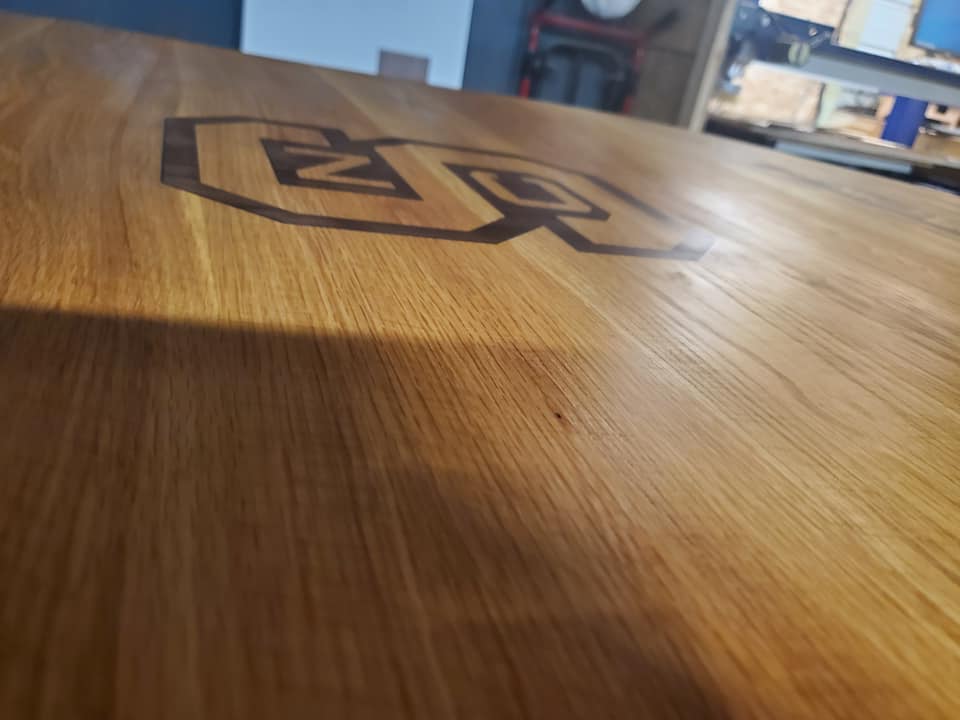
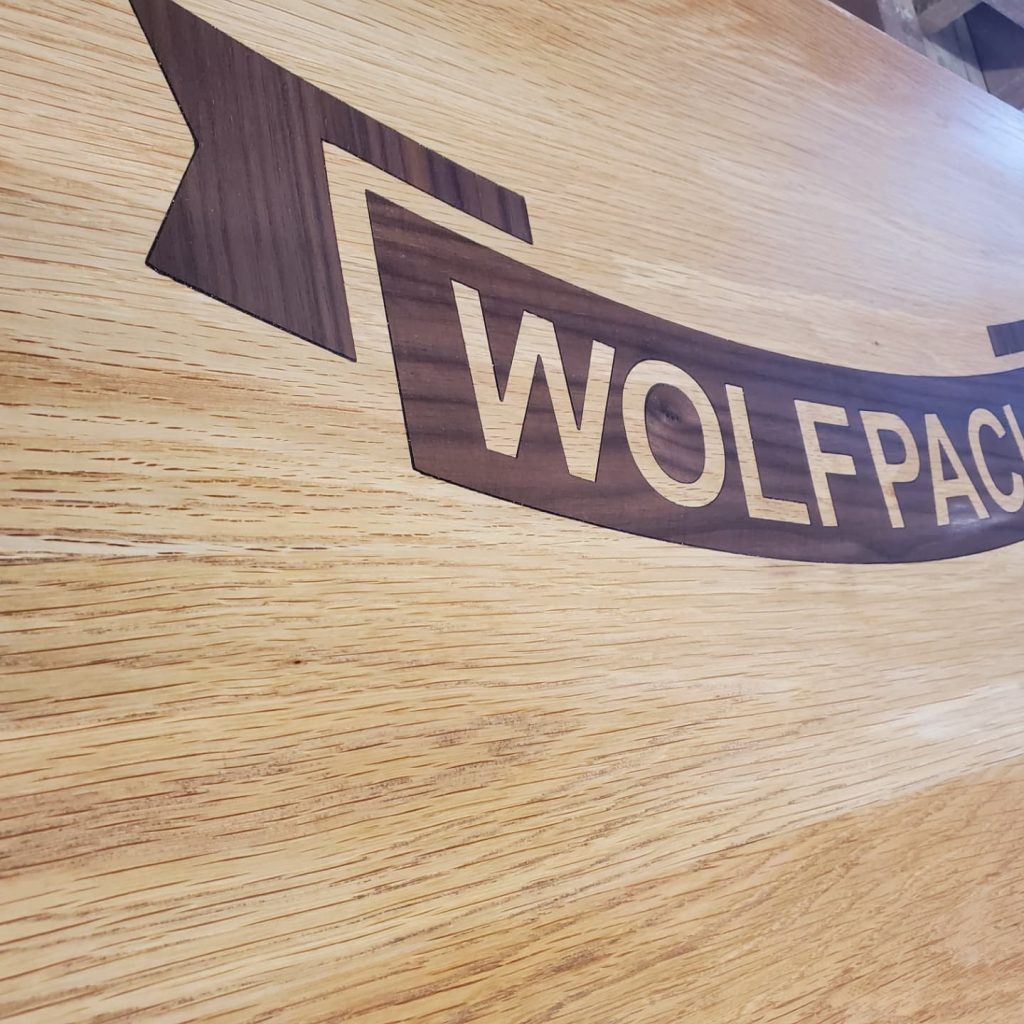
When you cut the inlays slightly smaller you obviously have a gap. You’re not supposed to have a gap when inlaying. But. I’ve found that using resin epoxy and with an inlay slightly undersized allows for the entire inlay to be set ‘into’ the resin. It’s swimming. This allows maximum adhering and ensures a lifetime of remaining in place. That is the part that matters. The part that doesn’t matter but is really nice, is the epoxy that occupies the ‘gap’ (which you WANT to keep small and uniform) will set/cure as a beautiful little translucent outline around the inlay.
Do ya see it? It kinda rocks. It’s pretty, and it’s functional.
Once the inlays are set and sunk- it’s time to go do something else long enough for it to cure. In this case, I cheated and used resin epoxy that sets in around an hour. Still, I allowed it to set up overnight.
When you arrive at this point there is but one thing to do. It’s boresome. It’s tedious. It’s thoughtless and redundant- and you guessed it, it’s sanding.
Oh I try to make it fast as I can, every time, and then I go back and fix it because I got overly aggressive (also every time) and I stand there and sand… for hours.. Sanding…. Starting with a belt sander and 35grit which rips material away (and causes the real work if you slip, which you WILL), and then moving to a shaker 4″ square and using 50 and then 80 grit… Moving on up to 120grit for many passes- just to take it one to 180 and then 220 and followed with 320grit. Something happens after 320. You stand the grain, of course, and then you move to a random orbital sander.
Standing the grain, aka ‘raising the grain’, requires water and only water. Wood responds to water. You think that thing you’ve been sanding on for several hours is smooth? Nope. Wipe it softly with a saturated rag, or better yet use a hand squeezed sprayer and get it wet. Don’t touch it, though…. Just let it set there until the water has evaporated.
When it’s dry, run your paw or hoof over it- you’ll feel like grits 120-320 must have been a dream- but… you’re closer than you think. Simply use 320 once again (this time and from here out either by hand or with an orbital!) and remove the grain that reached for the stars as the water left it. Like I said, wood responds to water and only water. Those little cut off grains making a break for the heavens are what makes your table feel roughed up again, and if you use the same grit sand paper you used before raising the grain you’ll find that they pop right off leaving what is truly now approaching a smooth surface.
This table is oak. Oak, even white oak and even ‘old’ white oak has some pretty large pores. This means- more sanding. You gotta get that thing smooth (and flat).
Once you’re past 320grit take it to 500grit in one fell bounce. And then comes more magic. I prefer a product called Walrus Oil, but there are several products out there of about the same quality… it’s beeswax infused mineral oil. Spread it all over the surface as you would a cutting board or chopping block and allow it to settle in for an hour or so. After that, wipe it with a clean dry towel. After that, break out the pure beeswax (or even carnuba- really doesn’t matter but again I prefer Walrus Oil Block Wax).
Rub it in, polish it off after it’s cured, Danielson. Wax on; Wax off.
Okay- you’d think that is it. Nope. but, we’re close.
That wax, you’ll find, protects the already smooth grain. It exposes the grains that have ran out, open pores, or surface area’s where the grain broke up. The wax is going to work something like a lubricant at this point, too.
I jump straight to 2500 wet or dry grit sandpaper. I stretch it over a block of wood that approximates the size of the paper, and with a terry cloth towel between the block and the paper. It has to be as long as you can possibly make this block sanding gadget. You’ll want to pull that block across the surface with little to no pressure applied downward. You’re basically burnishing the surface. Do it. Over and over. swap out paper when the wax clogs it up. Do it some more. Hours, yall, hours.
This wasn’t a very exciting job to share in terms of ‘how it’s done’, but it’s incredibly rewarding to send a picture to the client (because i just couldn’t wait to show him) and have them get so excited you figure he sounds like that kid who 60+ years ago sat at that table being fed by his mother, who later learned to feed himself at the same table. Who will now have a classy card table to decorate his game room, and accentuate the travel of a lifetime, literally, and be something he can pass to his boys. They’re memory of that table will be mucho different than their fathers, but, they’ll still grasp the value of it because they see their fathers excitement.
It’s jobs like these I REALLY dig. I facilitated a heirlooms transformation to something that still has purpose and for a lot of years ahead, and which looks really classy.
Yeah there is still some more work to be done, and I’ll share those pics when it’s so. This doesn’t ‘look’ like the table his mother served meals to the family on, but it IS. And, it’s also a table that would be perfectly fitting in the game room of high rollers in Vegas. He’s happy and so am I.