

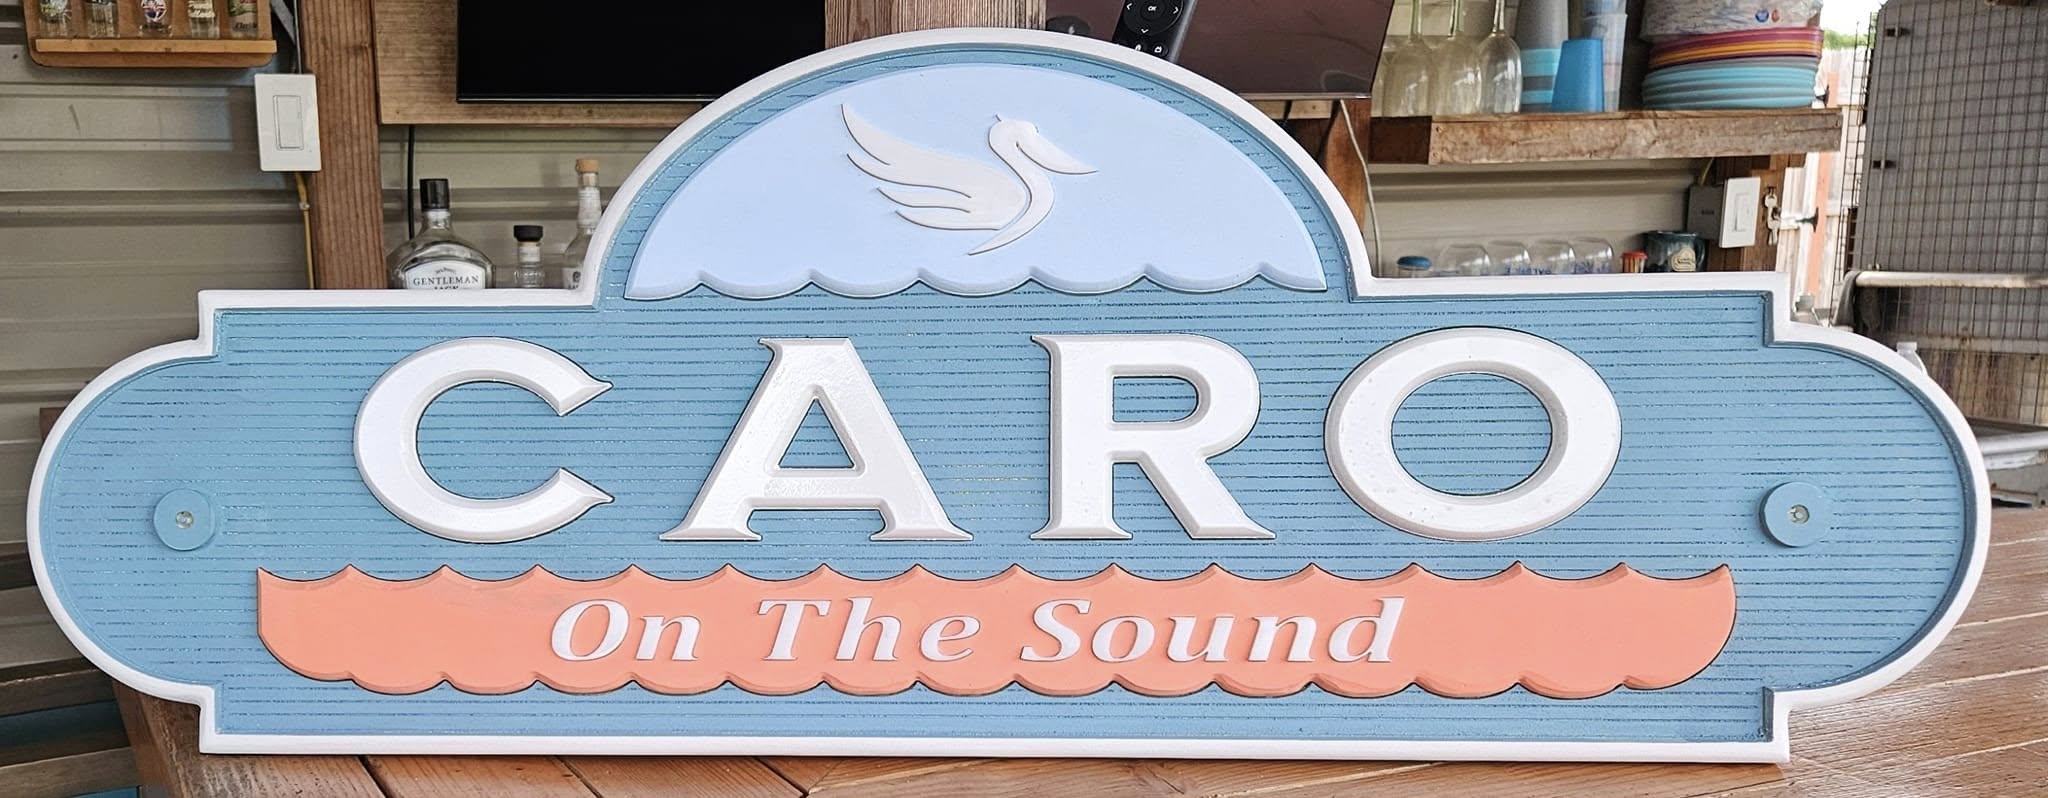


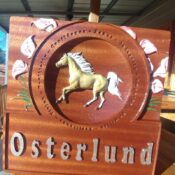


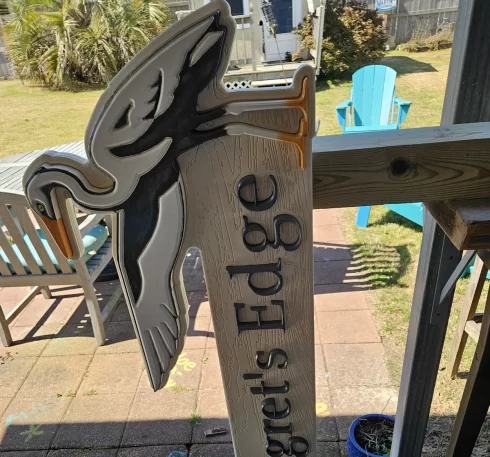
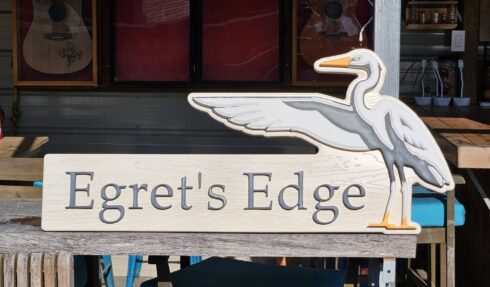
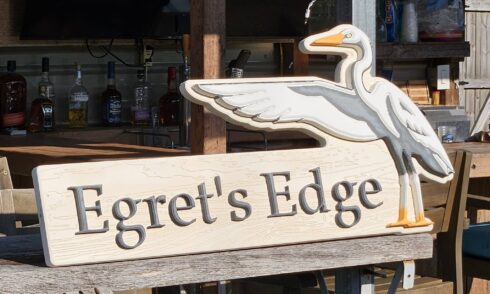
Ms. Egret is back, and she has a pointer for you (bad, bad pun…)…
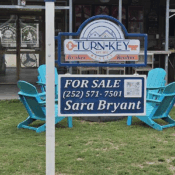
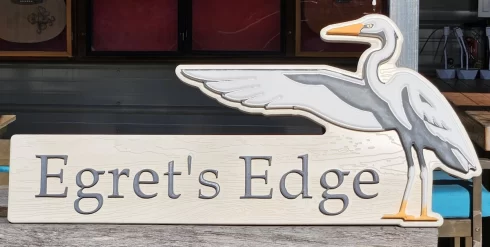
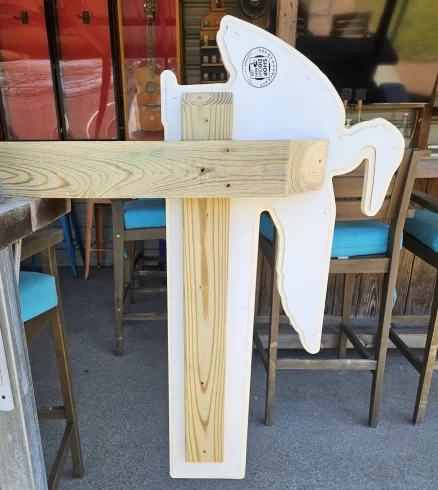
This guy is a free standing post sign- as in ‘not’ attached to a substantial backing. I’m sharing this as it’s something I’ve learned, and offer it to aspiring sign makers.
When using Paylight sign grade expanded PVC, something that has to be addressed is it’s propensity to ‘droop’ when mounted in direct sunlight, especially on the coast, here. There are two things you can do to mitigate this, but on a free standing post, you lose one… so… you do the next best thing.
to begin with- any Paylight signs I carve will have a maxmetal backing- it’s both adhered and mechanically fixed together. Staples work great for this application, by the way. That backing should be the shape of the sign and reach no further than an inch from the edges. On bigger signs you can get by with less coverage, but you may as well, in most cases, go to no more than a quarter to half inch from the sign panel’s perimeter. Slather it up with some HD adhesive (I’ve found The Gorilla Glue Company clear construction adhesive to be as good as anything out there, even at five times its cost), and then staple it in place. Don’t forget to take the liner off the maxmetal! otherwise, you’ll be adhering the plastic protective layer to the Paylight… that doesn’t work so swell… ask me how i know.. or don’t… ![]()
Once this is accomplished^ you’ll need to consider the second ‘hedge’ against droop… that is simple: affix the panel to a solid, flat, sturdy surface. When I have this option, I’ll usually leave a letter or part of the inset design out of the panel until it’s mounted- then mechanically attach the sign to the structure, and then use the same gorilla glue mentioned to adhere the letter/design part back in place. This hides the hardware nicely, and that sign panel isn’t going ~anywhere~… but… again… this particular job is a ‘post’ sign… so… that technique is off the table for consideration.
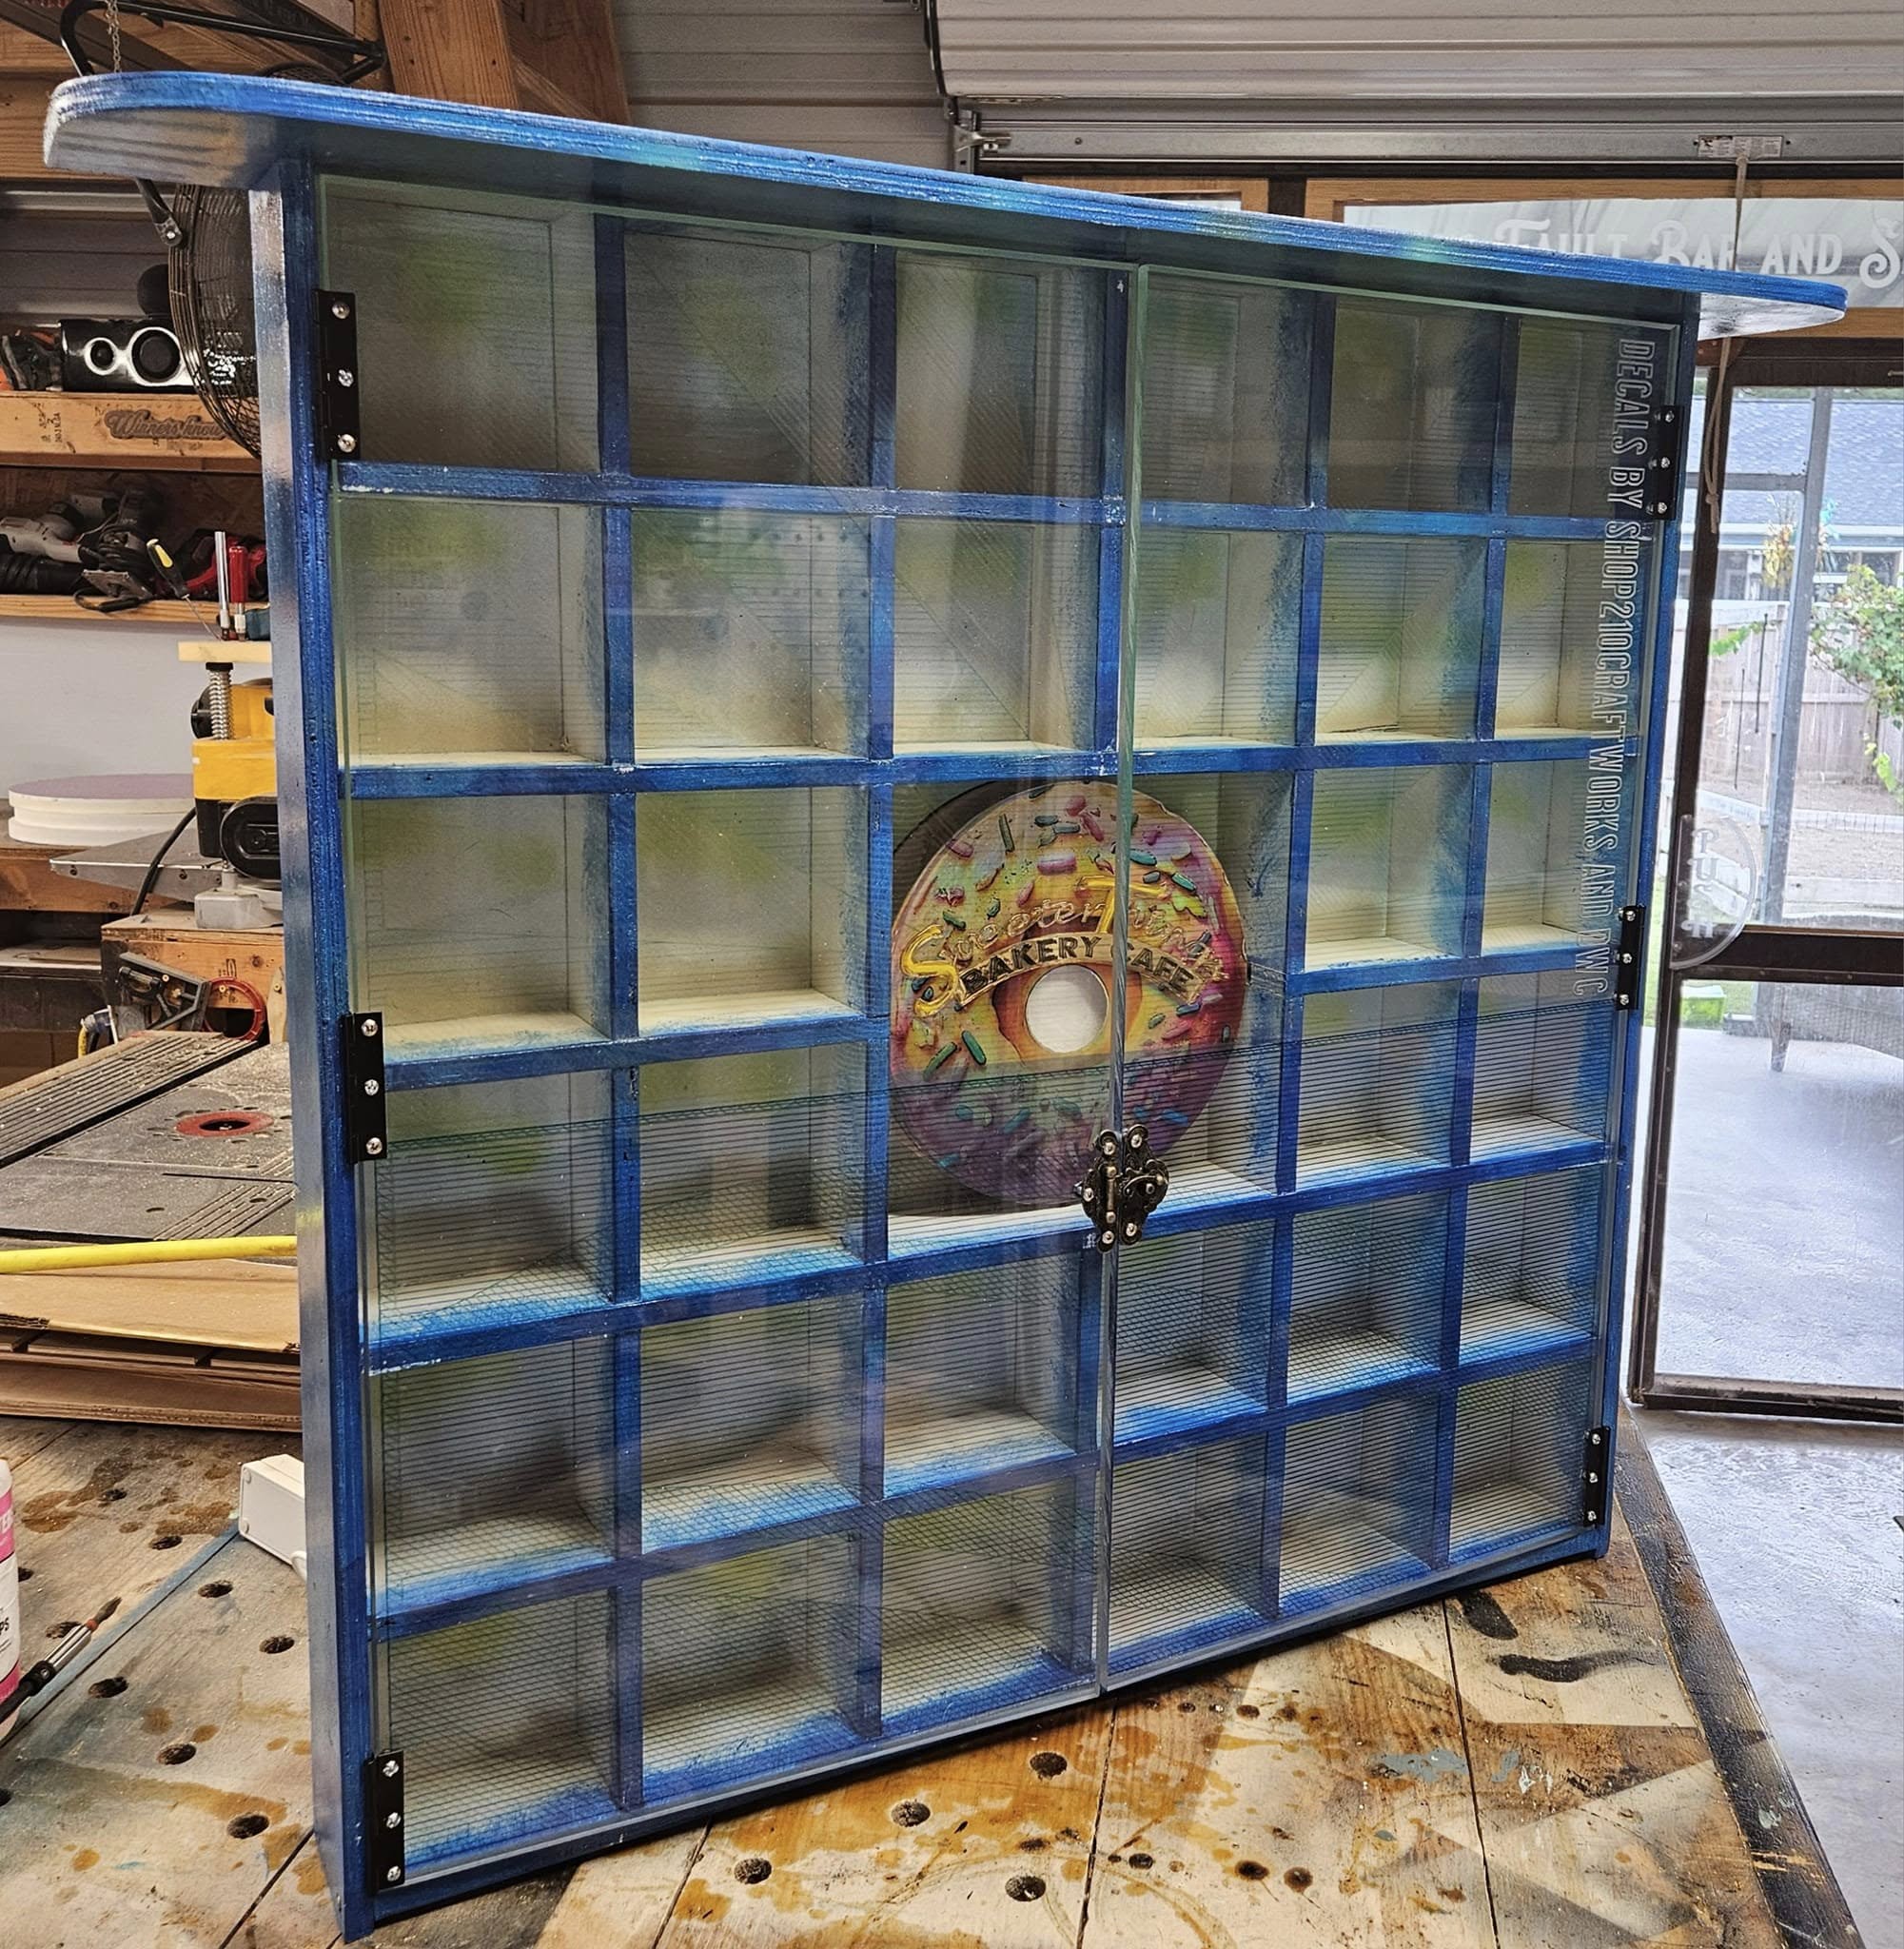
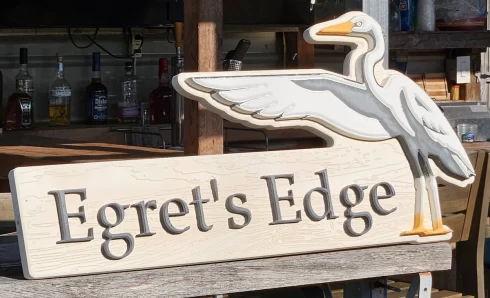
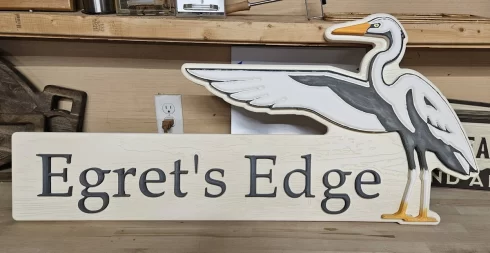
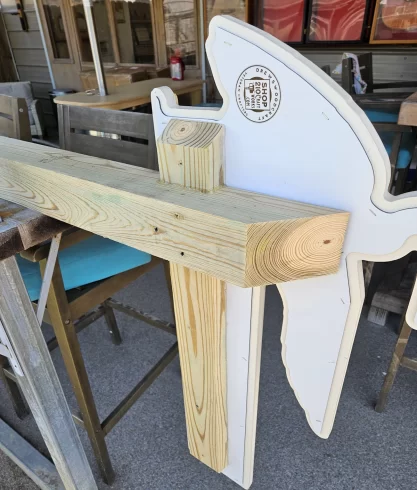
Brace it. In the images you’ll see how it’s done. A treated 4×4 post has a relief or mortise in the back side of the 4×4 to fit the cross member (treated) 2×4. If you do it right, it’s not visible from the front, yet it’s well attached being both mechanically affixed (screws slobbered with the same gorilla glue long enough to reach through the wood and sink into the Paylight to a depth at least half it’s thickness) and it’s adhered.
and there ya have it. A solid, professional, post sign that’ll last years to come.
bonus tip: this is counterintuitive… yet… it’s valuable and ‘could’ provide to be ~extremely~ ‘valuable’ : instead of doing the obvious and pouring a concrete foot for this post, or even using the expanding foam footers/anchors, simply set this guy in a hole no bigger than the circumference of your post hole diggers (PHD’s.. I have several… 🙂 )… and set it only 18″ to 24″ deep and adding another 6″ for every foot over six feet total height… pack it tightly. sounds crazy? maybe…. but… if your post sign is going anywhere near a road it’s a good idea… you WANT that post sign to fall over if a car hits it… you DO NOT want it to break and fly through the windshield of that vehicle, possibly making a minor accident a serious one.
#carvedsigns #emeraldislenc #signs


-
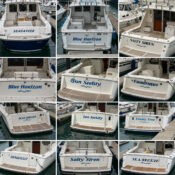
Printed Boat Names
$180.00Add to cart -

Commercial Carved Panel – full size
$2,800.00Add to cart -
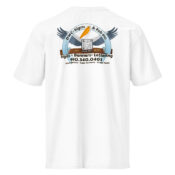
DWC-Signs Peli T
Price range: $29.00 through $35.00Select options This product has multiple variants. The options may be chosen on the product page -

Carved Letter or Graphic up to 30 inches
$62.00Add to cart